
Logic Apps Integration with SharePoint
Tuesday, Jan 08, 2019
What are Logic Apps?
Logic Apps is a PaaS offering that help mainstream developers to automate and orchestrate tasks, business processes, and workflows in a cloud-based, serverless manner.
Benefits of Using Logic Apps
- Easy-to-use
- Developing an integration solution using Logic Apps graphically reduces the time of development, when compared to the traditional code-based alternative solutions
- Provides many Microsoft managed connectors for different platforms & SaaS such as: MS SharePoint, Dynamics 365, SAP, Dropbox, Twitter, Facebook, Office 365. For a comprehensive list of Logic Apps connectors, please visit: https://docs.microsoft.com/en-us/azure/connectors/apis-list.
Development Tools
- Visual Studio 2015, 2017
- Web-based Design Interface through Azure Portal
How Does it Work?
- Any Logic App needs to be triggered to be executed. This trigger could be based on different types of events such as Manual, HTTP, HTTP Webhook, or Recurrence (Scheduled).
- Once the Logic App is triggered, it creates a Logic App instance that runs Logic App workflow with all the defined actions. These actions could be message manipulation actions such as formatting, looping, or connectors as actions integrating with other systems & performing certain operations against these integrated systems.
It's Time to Have a Real Example
Let’s assume that we have SharePoint List (Employee List) that needs to expose a service layer that contains some functionalities such as adding an item to Employee List without using SharePoint rest APIs to be easy for consumption by different vendors.
There are a lot of solutions that can achieve your needs.
- Building a custom API that accepts object and connects to SharePoint list using CSOM. Then parse this object to SharePoint object to be able to insert new item in SharePoint list. Subsequently we need to handle connectivity, code, error handling, security and others. OR,
- Using the magic of Logic Apps
Let’s dig deeply and build new SharePoint list on an Office 365 site. Then we will build a Logic App to insert a new item and compare time of development between building custom rest service with Logic App.
Login to Your SharePoint Site
- Navigate to Site Content > Create new list
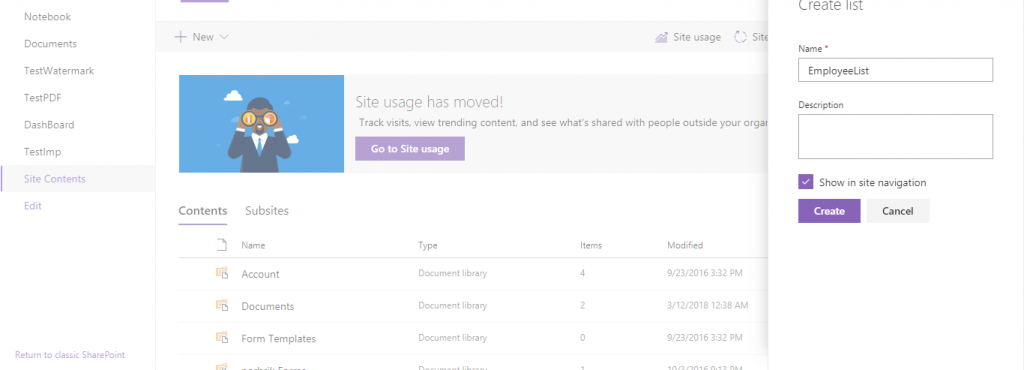
- Add 4 columns
- Position “Single line of text”
- EmployeeName “Single line of text”
- Age “Number”
- Email “Single line of text”
Login to Azure Portal
- Click Create a resource.
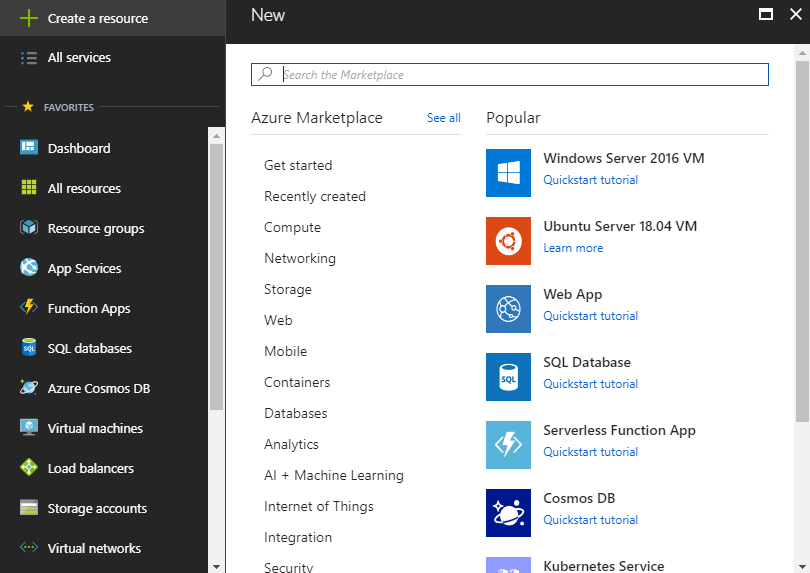
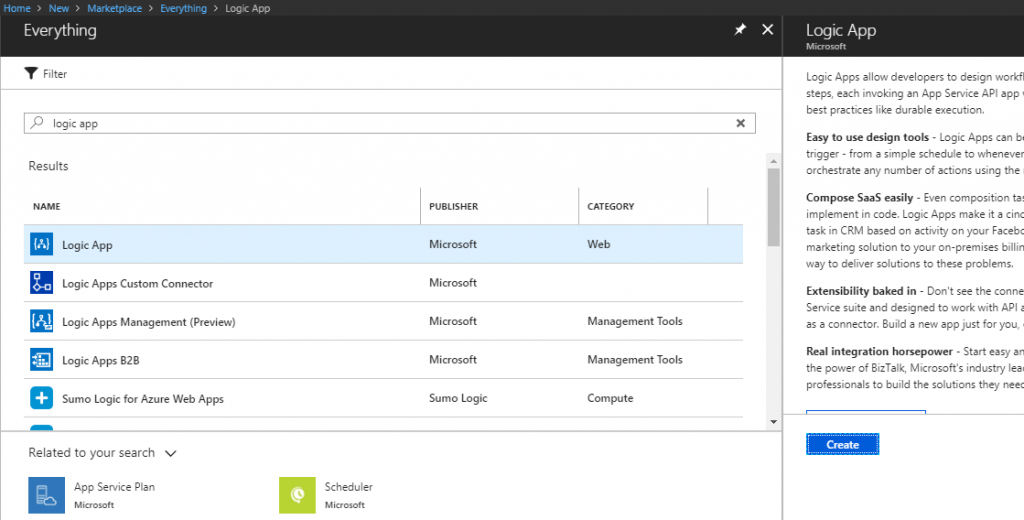
- Search or Logic App and click Create button.
- Fill Logic App Name, Subscription and Resource Group.
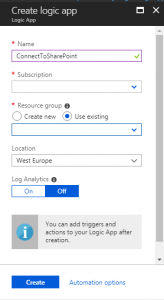
- After creating the Logic App, it will take seconds to be ready and a notification will appear.
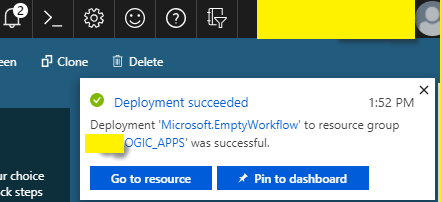
- Click Go to resource to be redirected to new Welcome Page that contains an introduction video for Logic Apps and common triggers for Logic App.
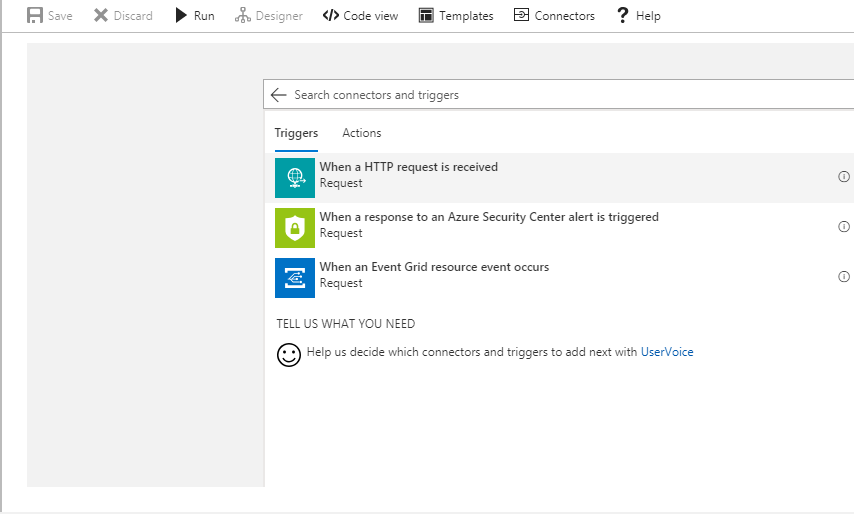
- Search for the request in connectors and triggers.
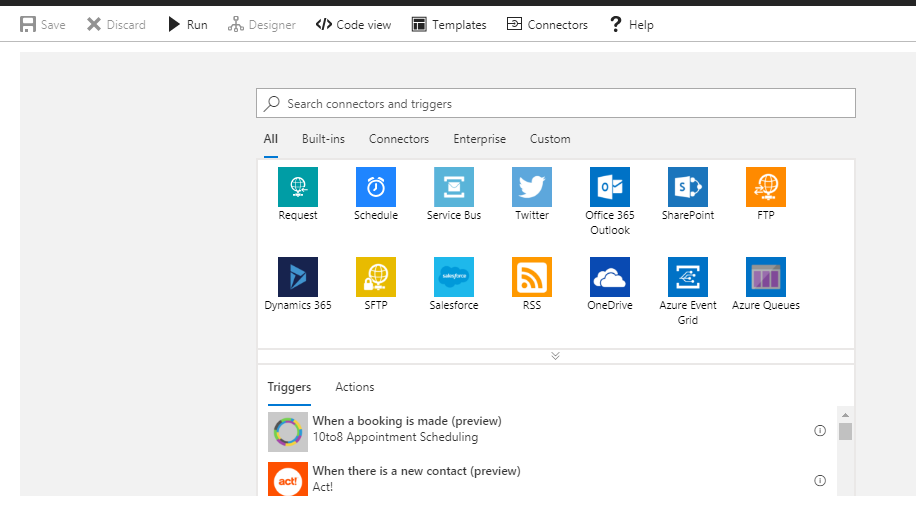
- Select when HTTP request is received.
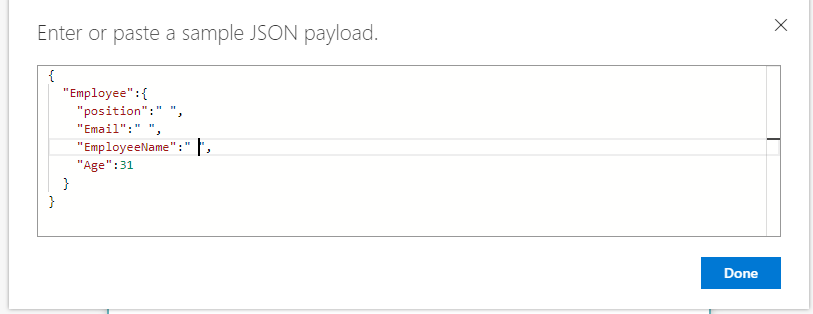
- Click Use sample payload to generate schema and paste the sample of payload to be sent in the request's body. Notice that we will discuss late the step to allow attributes in payload to be dynamically exposed. Then click Done.
- Click New step.
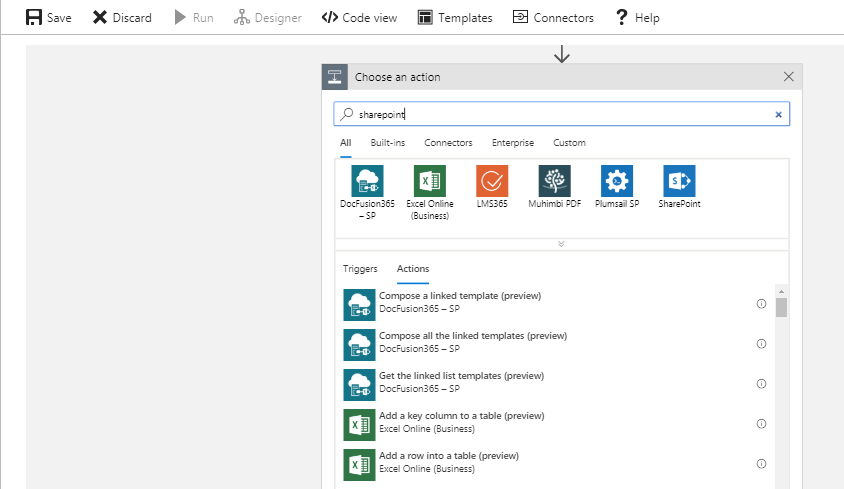
- Search for SharePoint in the Choose an action section.
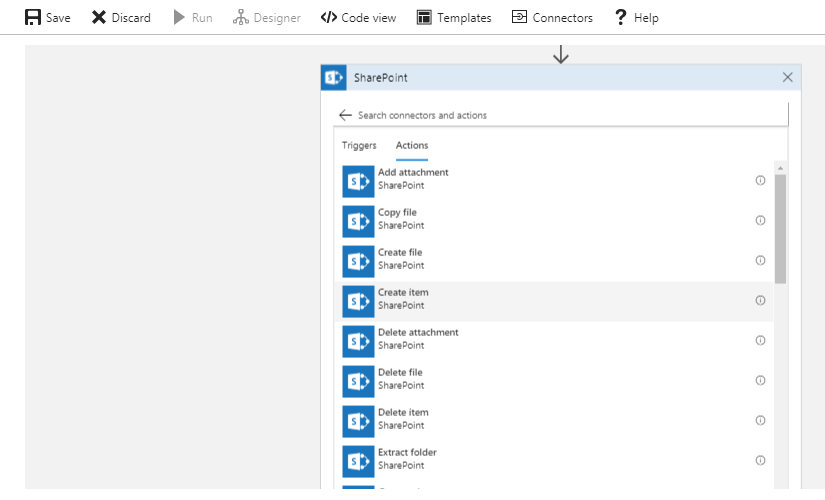
- Click Create item action.
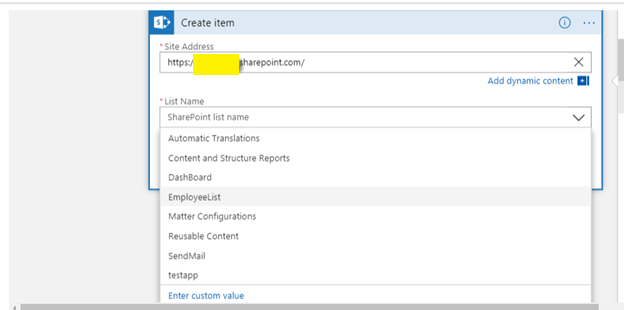
- Follow sign-in steps (sign in to SharePoint that contains target list ”Employee list”). Write your SharePoint site name and select target list form the drop down list.
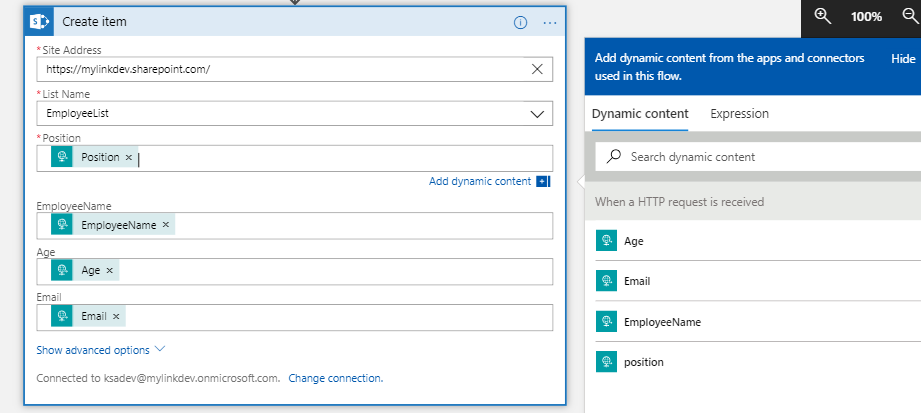
- Now it’s time to map the sent request object to list columns.
- Click Position value text box and automatically a new block will appear beside create item action. All attributes, defined earlier, and that is sent in the request will be ready for usage in a single click and need to write attribute name manually.
- Click Save then navigate to left side by browser. Scroll and make sure that it’s enabled.
Testing the Integration Scenario
Now it's time to test this integration scenario.
Before sending our request, we need to know the URL of our Logic App. To do that, navigate to Logic App design mode and expand when http request is received and copy the URL.

- Use Postman or any other API testing tool of your choice. In the body fill object or request, and set Content-Type to application/json
{
"Employee":{
"position":"Technical Lead",
"Email":"[email protected]",
"EmployeeName":"Anas Saad",
"Age":31
}
} - Click Send.
- Check SharePoint list and validate that your record is inserted successfully.
References
Comments
No comments yet
You must login to add your comment.